
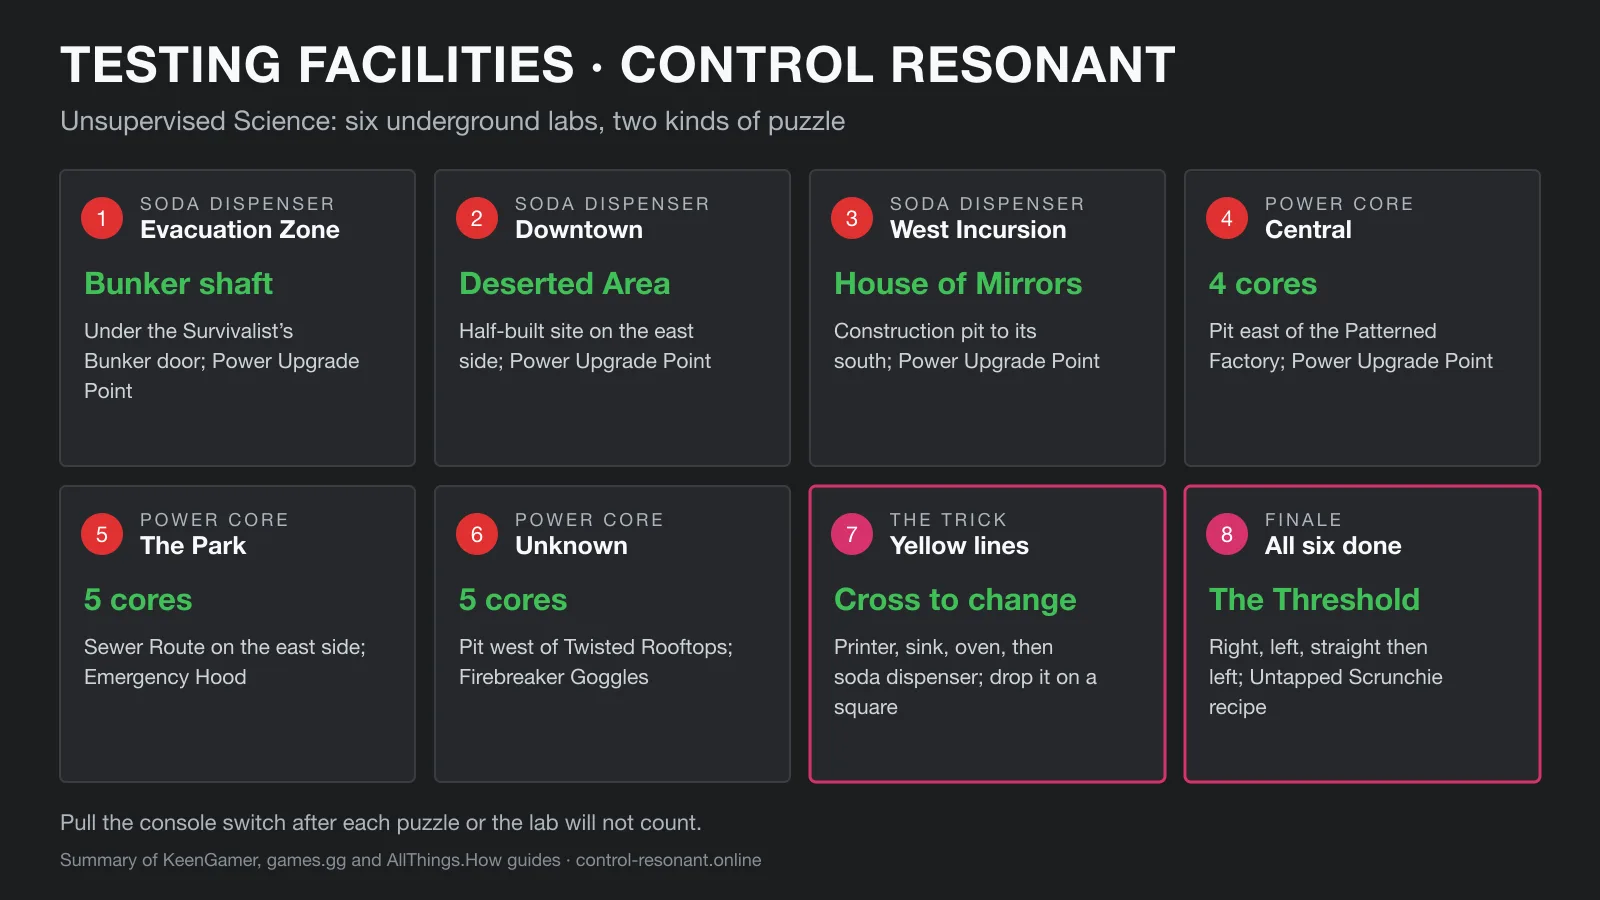
All 6 Testing Facility locations
The labs belong to the Unsupervised Science side story, which starts as soon as you enter any of them. The Evacuation Zone lab gives you the Testing Facility Coordinates file, which marks all six. Each map marker points underground, so look for a construction pit or pipe nearby (KeenGamer).
| Zone | Way in | Puzzle | Reward |
|---|---|---|---|
| Evacuation Zone | Concrete shaft under the Survivalist’s Bunker fast-travel door, then the drainage pipe | Soda dispenser | Power Upgrade Point |
| Downtown | Half-built site in the Deserted Area, east side; drop into the pipe on the ground floor | Soda dispenser | Power Upgrade Point |
| Central | Construction pit east of the Patterned Factory | Power Core (4 cores) | Power Upgrade Point |
| West Incursion Zone | Construction pit south of the House of Mirrors | Soda dispenser | Power Upgrade Point |
| The Park | Sewer Route on the east side, past the lava room | Power Core (5 cores) | Emergency Hood |
| Unknown | Construction pit west of the Twisted Rooftops door | Power Core (5 cores) | Firebreaker Goggles |
Guides name the labs differently. games.gg calls the Downtown one Testing Facility Reade, and AllThings.How calls the Evacuation Zone one Testing Facility Pearl. The zones and entrances above match across sources.
Soda dispenser puzzle solution
The shutdown note at the console says every object’s default state is a soda dispenser. The objects start in other forms, and the whiteboard above the console shows the cycle. AllThings.How lists it as:
- 1. Printer (copier)
- 2. Sink
- 3. Oven or grill
- 4. Soda dispenser — the “Thirst Station”
Carrying an object across a yellow line moves it forward one step. Crossing back while retracing moves it back. To solve the room:
- 1. Pick up an object and note its current form.
- 2. Take it to an open spot next to a T-junction in the lines.
- 3. Walk around the junction, crossing lines, until it becomes a soda dispenser.
- 4. Set it on a yellow square before you cross another line.
- 5. Repeat for every object, including those on the upper walkways.
- 6. Pull the console switch.
Shortcut: carry the object over one line, then drop it and cross to the other side yourself. You skip steps without the object changing again (games.gg).
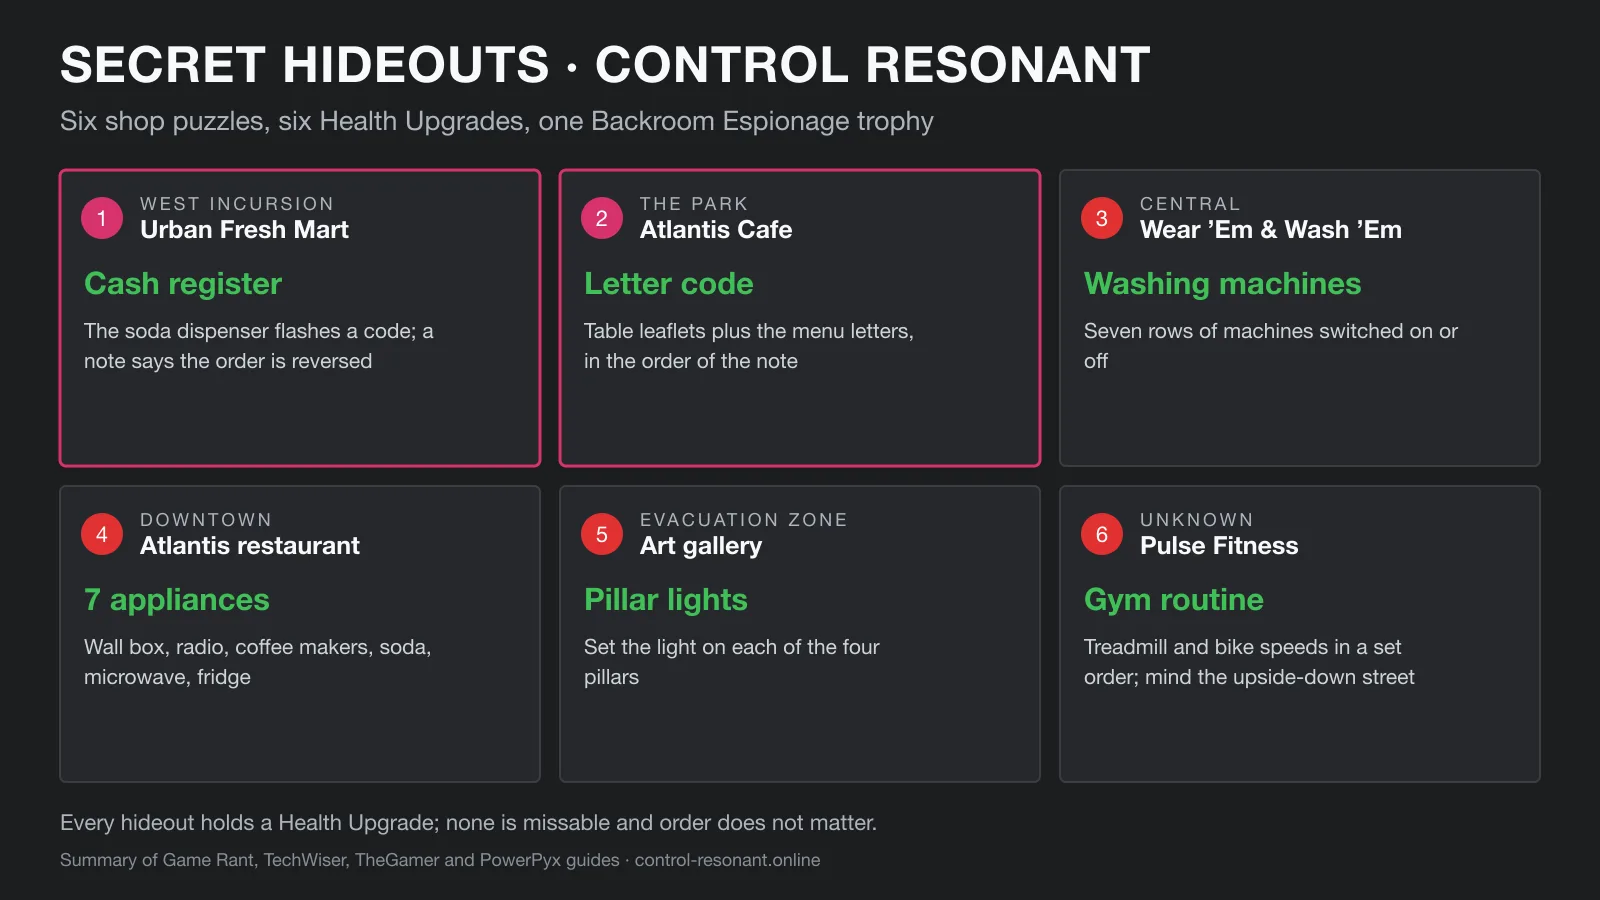
If the console light stays red, one square holds the wrong form. Check each one. This is not the Urban Fresh Mart soda machine, which is a clue for a cash register code; that one is in our cash register codes guide.
Power Core puzzle solution
Central has four cores; The Park and the Unknown have five. Blue means charged, red means empty, and a flashing red core needs charge now.
- 1. Read the note on the desk, then hit the switch inside the blue circle. A 60-second countdown starts.
- 2. When an empty core flashes, take the charge from the core you filled second-to-last.
- 3. Put it in the flashing core, which now counts as the newest.
- 4. Keep rotating like this until the timer runs out and every tower is green.
- 5. Pull the console switch.
If a core stays empty too long the countdown restarts. Missed transfers snowball fast, so watch the cores rather than the timer.
The Threshold route
Once all six labs are shut down, the objective becomes Go Into the Threshold. The entrance is next to the Firebreaker Goggles room in the Unknown lab. Wrong turns turn Dylan into objects, so follow this order (KeenGamer):
- 1. Use the switch in the Goggles room and walk forward until names appear on the floor.
- 2. Take the right path and hit the board at the far end.
- 3. Take the left path and pick up the charge from the Power Core.
- 4. Go straight, turn left at the split, and put the charge in the dead Power Core.
- 5. Back at the split, go straight to the dead end and interact with the body.
Rewards
- Per lab: a Power Upgrade Point (Evacuation Zone, Downtown, Central, West Incursion Zone) or an accessory (Emergency Hood, Firebreaker Goggles), plus a research file and an Undefined Reading.
- Threshold: Dr. Grant’s Final Report and the Untapped Scrunchie Artifact recipe.
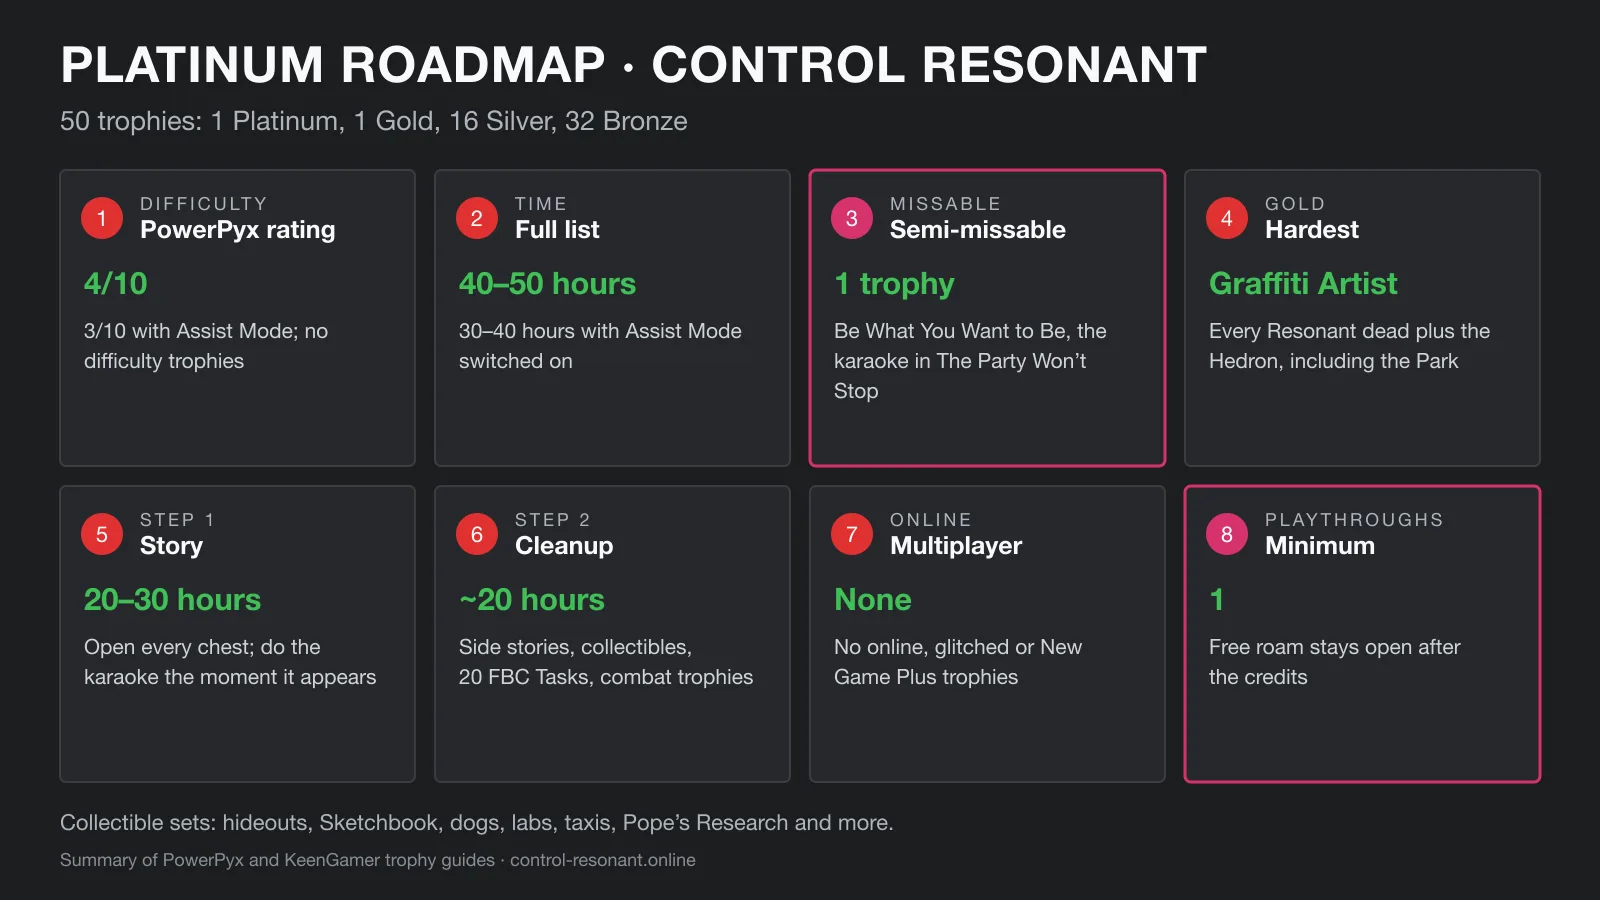
- Trophies: four Power Upgrades unlock Astral. Threshold Researcher also needs The Last Taxi and Crossing the Threshold. The full list is in our trophy guide.
Testing Facility FAQ
How do you solve the soda dispenser puzzle in Control Resonant? Carry each object across the yellow floor lines. Every crossing changes it to its next form, and the last form is a soda dispenser. When it is a dispenser, set it on a yellow square. Fill every square, then pull the console switch.
How many Testing Facilities are there in Control Resonant? Six, one each in the Evacuation Zone, Downtown, Central, the West Incursion Zone, The Park and the Unknown. Three use the soda dispenser puzzle and three use the Power Core puzzle.
Is the soda dispenser puzzle the same as the Urban Fresh Mart code? No. The soda machine at Urban Fresh Mart flashes a clue for the cash register code 1213. The soda dispenser puzzle is in the underground Testing Facilities of the Unsupervised Science side story.
What do you get for all six Testing Facilities? Each lab gives a Power Upgrade Point or an accessory and a research file. Finishing all six opens the Threshold in the Unknown lab. Clearing it gives Dr. Grant’s Final Report and the Untapped Scrunchie Artifact recipe, and counts toward Threshold Researcher.
Sources
Related guides
 DiagramGuidesControl Resonant Trophy Guide: How to Get the PlatinumRead guide
  Official · RemedyGuidesControl Resonant The Last Taxi: All Locations & Puzzle SolutionsRead guide
  DiagramGuidesControl Resonant Cash Register Codes and Secret Hideout SolutionsRead guide
  DiagramGuidesControl Resonant: How to Get to the Unknown (and Get Around It)Read guide